Cropping and Inserting images
Contents
Plain Image
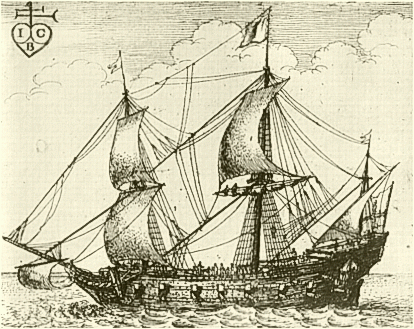
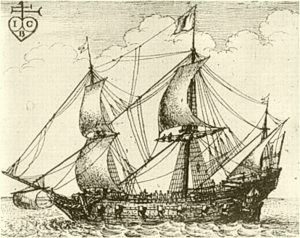
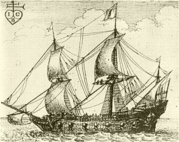
[[File:shipetching.gif]] will display the image you upload. Pretty simple, and may be bad for larger images.
Thumbnail and Sizing
So it takes less space and allows for a cleaner page, lets reduce it down to a thumbnail.
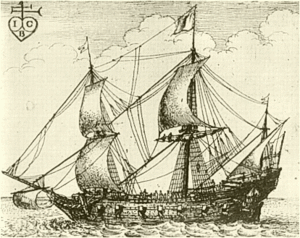
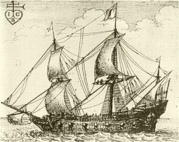
[[File:shipetching1.gif|thumbnail]] will make the image display the image as a thumbnail, which links back to the original wiki.
====
If you wanted to make the image or thumbnail a certain size, adding the length will reduce the image proportionally to that size.
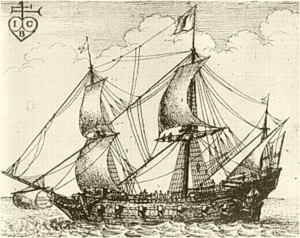
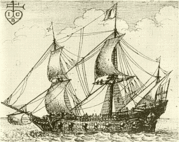
[[File:shipetching3.gif|thumbnail|279px]] will change the longer dimension to 279 pixels, keeping the scale of the image.
Captions
You may want to include helpful text below an image to add explanation, in addition you can include a link to some other site or page.
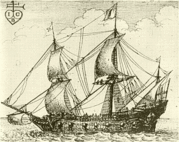
[[File:shipetching.gif|thumbnail|Wenceslaus Hollar, etching, Seventeenth-century English ship, printed in J.J. Ussher, Annales (London, 1654).]] will add the caption to the page.
Alignment on Page
An image might be in the way of text, or maybe you just want the image to be to the right.
[[File:image.jpg|thumbnail|right]] will create an image thumbnail to the right.
Any text below or after the image will appear alongside it rather than below or above it.
You can center an image (as long as it's neither a thumbnail nor captioned) by surrounding the image reference with --> and <--l.
====
You can also allow wrapping text by aligning the image to the left side of the page.
[[File:shipetching.gif|thumbnail|left]] will align the image to the left. This allows you to put text alongside the image, rather than breaking up the text.
Removing the border
Sometimes a border may not look so great for the page, thus the noborder option.
[[File:shipetching.gif|thumbnail|noborder]] Has an image without a border.
Example
Lets put it all together, a sized image thumbnail, aligned to the right of the screen.
[[File:shipetching.jpg|thumbnail|279px|right|Wenceslaus Hollar, etching, Seventeenth-century English ship, printed in J.J. Ussher, Annales (London, 1654).]]
Multiple Images and Separators
You can add multiple images or thumbnails by simply repeating the macro; there's an example of two images in a line below.
If you're adding a bunch of images as thumbnails, then this can end up looking strange because images can 'stack' on top of each other. Sometimes you don't want the text or the next image to 'float' over to the right or left side.
Headings are what you should use, in general, to divide pages into logical sections. As such, headings have the effect of sectioning off groups of images. Sometimes, when you're dealing with images, you don't want an actual heading, but just the "sectioning off" effect. To get this, just use ==== to force a section break in the page. You can think of this as a sort of "empty" heading.
A vertical column is created by having the images all aligned to either the right or left hand side of the page.
= Images on another website =
You can embed images from other websites without uploading them to the wiki. Just paste the URL of the image into the page and the image will appear. In general, it's a good idea to upload images directly to the wiki if you want to use them for a long period of time.
